The most important thing first:
F2 OptiProp is a fouling-release system for propellers and running gear, not a conventional antifouling paint. Applied correctly, it creates an ultra-smooth surface that fouling struggles to grip and that wipes clean easily. It is within reach for DIY owners, as long as you follow the instructions exactly.
The System at a Glance
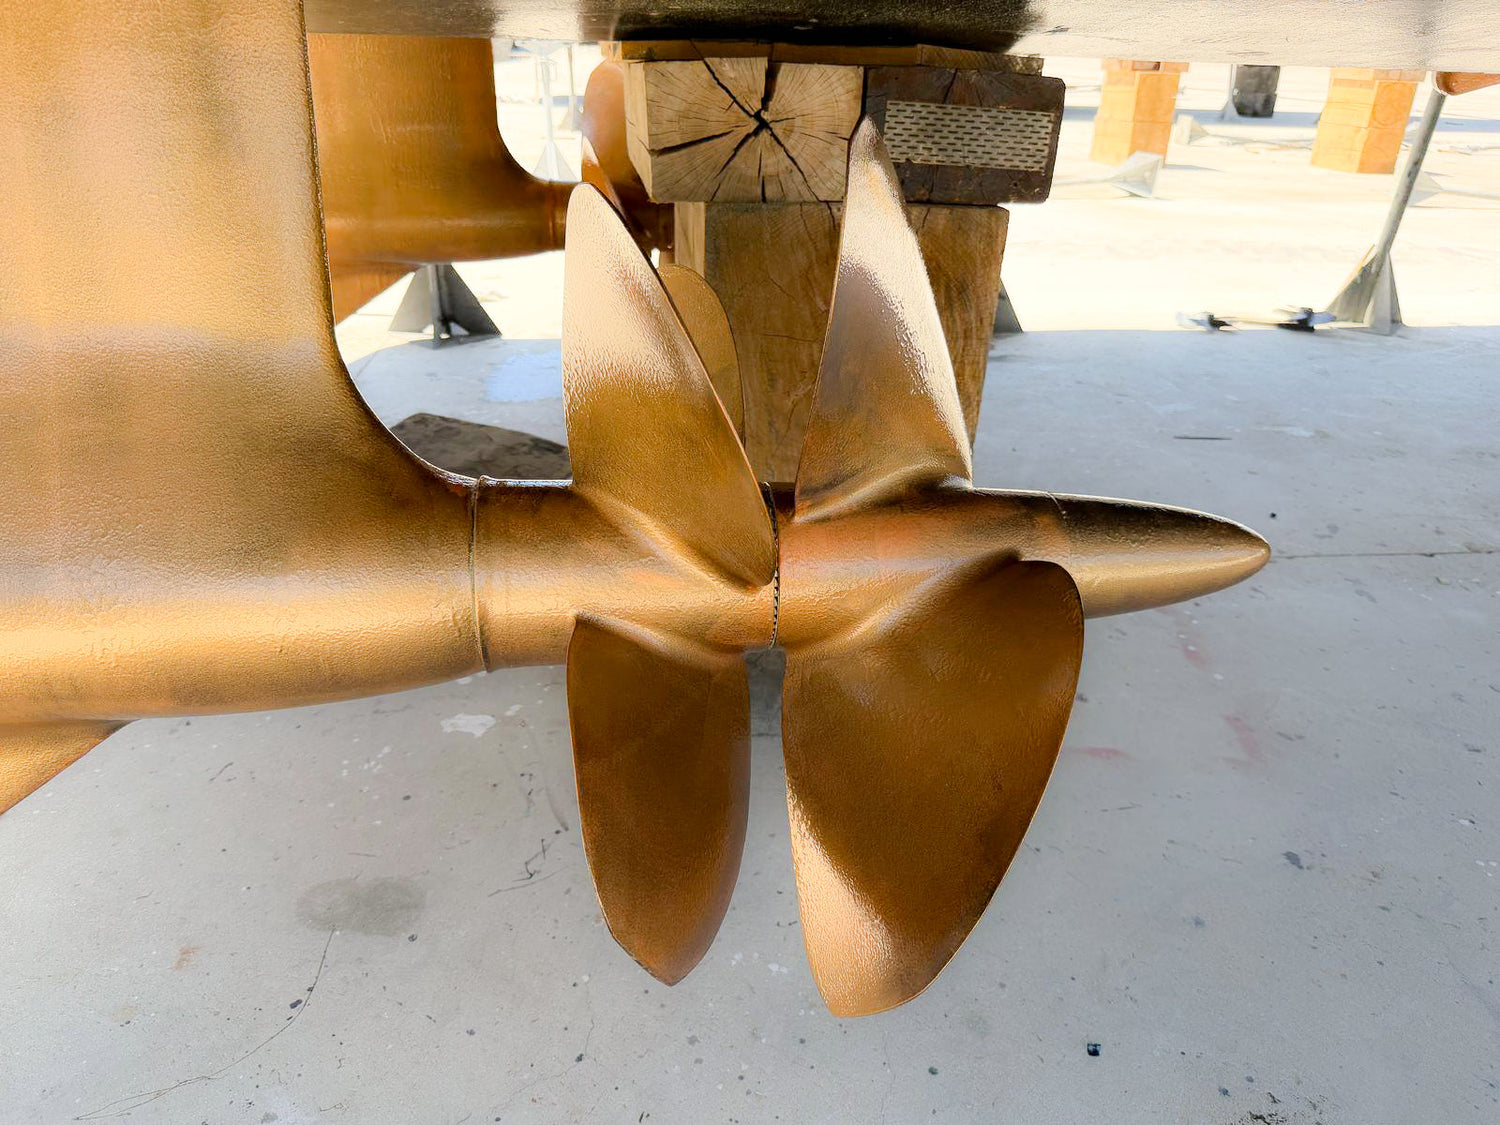
F2 OptiProp is the high-performance coating for propellers and running gear. It bonds to bright metal (stainless steel, bronze, NiBrAl, aluminium) and to plastic, and is engineered for the rotating, high-flow parts, including folding and feathering propellers. For the hull and large underwater areas, F2 EcoHull is the right choice. Both systems are biocide-free and solvent-free and are based on Zeronic™ technology.
OptiProp or EcoHull on the Running Gear
OptiProp can be used on all drive and appendage parts. If the hull is being coated with EcoHull anyway, it is cleaner and visually more consistent to do the static, hull-adjacent parts in EcoHull too. The propeller and shaft, the rotating parts, always get OptiProp.
| Part | Recommendation |
|---|---|
| Propeller | F2 OptiProp |
| Shaft | F2 OptiProp |
| Saildrive or sterndrive leg | OptiProp possible; within an EcoHull job, nicer in EcoHull |
| Trim tabs | OptiProp possible; within an EcoHull job, nicer in EcoHull |
| Rudder | Usually with the hull in EcoHull |
| Bow thruster | Propeller in OptiProp, tunnel with the hull in EcoHull |
The Four OptiProp Components
| Product | Function |
|---|---|
| Surface Activation Fluid | Degreases and activates the bright metal right before priming. Prevents adhesion problems from grease and residue. |
| Super Bond Primer | Two-component primer (BASE + ACTIVATOR). Seals the metal and forms the high-bond base for the system. |
| Intermediate Tie Coat | Black intermediate layer. Links the primer and Top Coat and provides intercoat adhesion. |
| Top Coat | Bronze functional layer. Creates the ultra-smooth fouling-release surface. |
Coatable, but the moving mechanism (joints, bearing surfaces, hubs) must not be coated and must stay free to move. Mask these areas before applying.
Typical Timeline
| Phase | What happens | Steps |
|---|---|---|
| Preparation | Mask anodes and mechanism, clean, sand to bright metal | 1–3 |
| Conditions & degreasing | Check the weather, degrease with Surface Activation Fluid | 4–5 |
| Coating | Super Bond Primer, Intermediate Tie Coat, Top Coat (4–6 h apart) | 6–8 |
| Finishing | Refit anodes, check free rotation | 9 |
| Launch | Wait 24 h, then for the first 3 days run the propeller at gentle revs only (no full throttle) | 9 |
The Super Bond Primer must be overcoated with the Intermediate Tie Coat within 24 hours. The Intermediate Tie Coat and Top Coat have no maximum overcoating interval, as long as the surface stays clean, dry and dust-free.
What You Need
- F2 OptiProp Super Bond Primer BASE + ACTIVATOR
- F2 OptiProp Intermediate Tie Coat
- F2 OptiProp Top Coat
- F2 OptiProp Surface Activation Fluid + 2 lint-free F2 cloths
A 3×250 ml kit covers approx. 2.5 m² of propeller and running gear, which suits most cruising propellers and shafts. For large or multiple drives, order more accordingly. Questions on quantity? →
- Sander or angle grinder with P80 grit
- Measuring cup with ml scale and stir stick 150:100 by volume
- High-quality brush or foam roller No long-pile rollers
- Masking tape, gloves, eye protection, overalls, mask (recommended)
Mask Anodes & Mechanism
Never paint over anodes. They only work with direct contact to bare metal.
Clean
Remove all fouling, barnacles and calcium. For stubborn deposits, acid-wash if needed, then rinse thoroughly with fresh water and let it dry.
Sand to Bright Metal
Use a machine. Hand sanding alone will not reliably reach bright metal or create an even key.
Check Conditions
| Condition | Requirement |
|---|---|
| Air temperature | > 10°C during application and curing. |
| Surface temperature | At least 3°C above the dew point. Avoid condensation. |
| Humidity | Maximum 90%. Surface must be dry. |
| Weather | No rain, no condensation during application and drying. |
Metal holds the cold longer than the air. Make sure the propeller temperature is above the dew point, otherwise invisible condensation forms and the coating won't adhere. Quick test: run the back of your hand across the metal. Cool and damp? Wait.
Degrease with Surface Activation Fluid
Grease and residue are the most common cause of adhesion problems. This step matters more than it looks.
Surface Activation Fluid is flammable. Keep away from ignition sources and ensure good ventilation.
Apply F2 OptiProp Super Bond Primer
Once mixed: maximum 30 minutes at 20°C. The warmer it is, the shorter. Only mix as much as you can apply within that time.
6A – Mixing
6B – Applying
Laying off means: after applying, draw the material out with light, even strokes, working outwards at the edges. The fouling-release effect depends on a mirror-smooth surface. Aim for an even film with no runs, sags, scratches or missed spots. This applies to all three coats.
| Drying time | |
|---|---|
| Minimum before Intermediate Tie Coat | 4–6 hours (touch-dry) |
| Maximum | 24 hours |
| Waited longer than 24 hours? | Sand with P180 and degrease, then apply the Intermediate Tie Coat |
Press with a gloved finger: if it leaves a slight mark but no material transfers to your finger, the coat is ready for the next step. If material sticks to your finger, wait longer.
Apply F2 OptiProp Intermediate Tie Coat
No maximum overcoating interval, as long as the surface stays clean, dry and dust-free. The Intermediate Tie Coat can only be overcoated with itself or the Top Coat, not with other products.
Apply F2 OptiProp Top Coat
Anodes, Free Rotation & Launch
- Most importantRefit anodes – no coating residue on anodes, shaft seals or threads. Ensure contact with bare metal.
- Check free rotation: the propeller and shaft must turn freely. On folding/feathering propellers, also check the mechanism moves freely.
- Wait at least 24 hours before launching.
- For the first 3 days of use, run the propeller at gentle revs only, no full throttle. Only then is the coating fully cured.
Care & Storage
Never use metal scrapers, abrasive pads or aggressive chemicals. Remove fouling only with a soft cloth, soft brush or sponge.
Extended storage on land and UV exposure are not a problem. OptiProp does not lose its effect over the winter lay-up.
With correct application and care, OptiProp protects for several seasons. If the coating needs to be removed, for example for maintenance, this is done with F2 Remover. Contact support →
Frequently Asked Questions
Which propellers and materials is F2 OptiProp suitable for?
Stainless steel, bronze, NiBrAl, aluminium and plastic, as well as folding and feathering propellers. Important: do not coat the moving mechanism, it must stay free to move.
How long does F2 OptiProp last?
With correct application and care, several seasons. Unlike conventional antifouling, there is no annual sanding or repainting.
What if I miss the primer's 24-hour window?
Sand the cured primer again with P180, degrease with Surface Activation Fluid, then apply the Intermediate Tie Coat. Do not apply over primer that has stood for more than 24 hours.
How do I clean the coated propeller?
Only with a soft cloth, soft brush or sponge. Never use metal scrapers or abrasive pads. Fouling releases easily from the smooth surface.