The key points first:
F2 EcoHull is a dedicated fouling-release system – not a classic antifouling coat. Built up correctly, you get a very smooth, robust surface that is easy to clean, lets your boat glide through the water more easily (fuel savings) and reliably protects against fouling over many seasons.
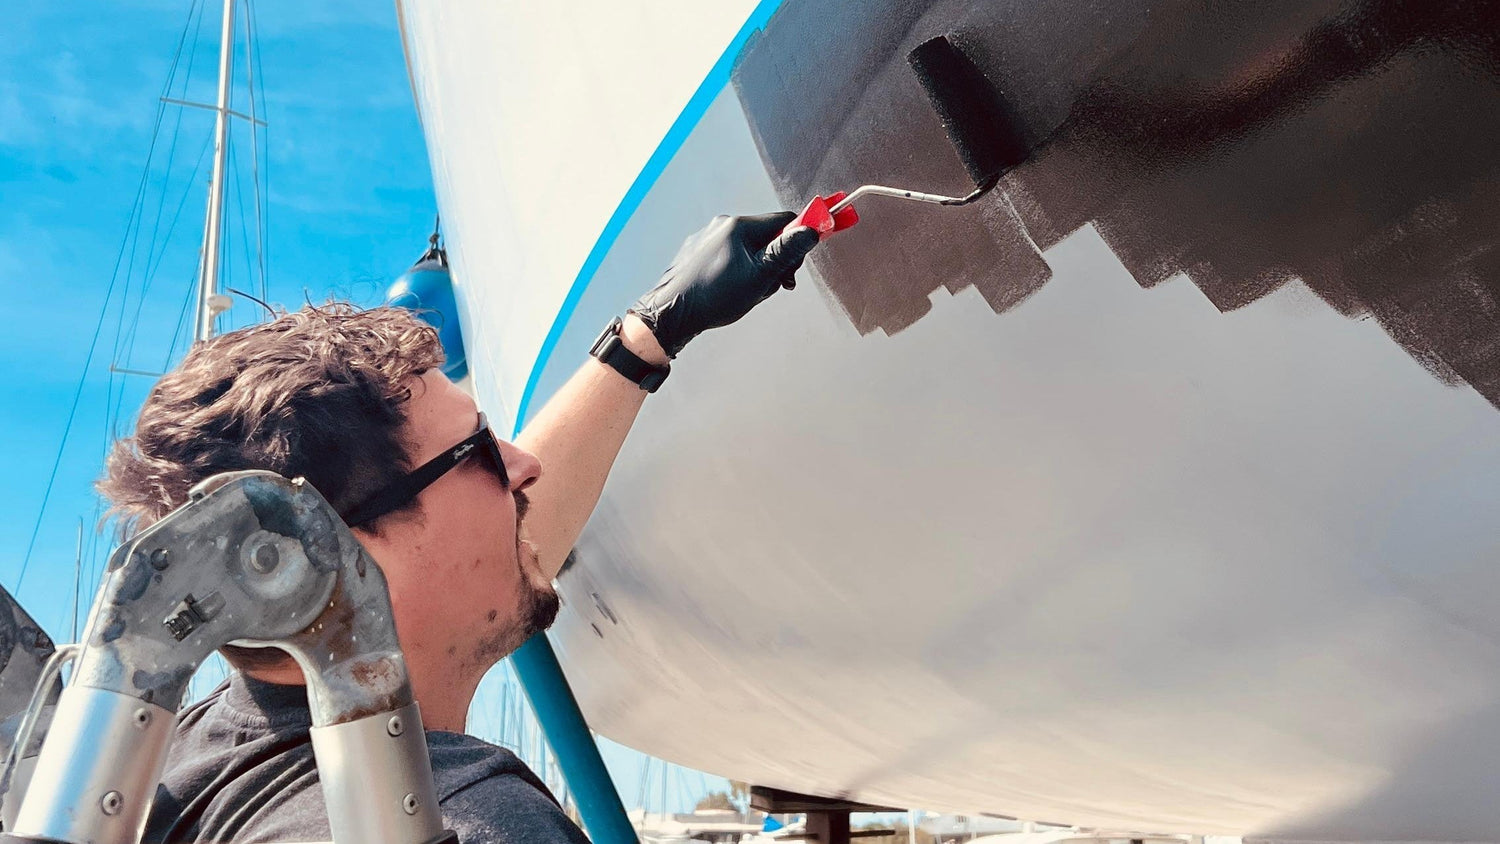
Application is well within reach for DIY owners too, as long as you follow the instructions exactly. Deviations can lead to poor adhesion or delamination.
The system at a glance
F2 EcoHull is suitable for hulls made of GRP, carbon, aluminium, steel and wood – and can be used across the entire underwater hull: hull, saildrive, rudder, through-hulls and trim tabs. In short: everything below the waterline except the propeller and shaft. For those there is F2 OptiProp – developed specifically for rotating parts.
| Product | What it does |
|---|---|
| F2 Degreasing Solution | Solvent-free cleaning of the substrate before painting – prevents adhesion problems caused by grease and residue. |
| F2 EcoPrimer | Two-component epoxy resin. Seals the old substrate and acts as a bonding primer when switching from existing antifouling to F2 EcoHull Scenario A only – see below |
| F2 EcoHull Adhesive Coat | 1K hybrid polymer. Bonds the substrate to the Top Coat, gives the system its colour base and forms the robust foundation for the fouling-release effect. |
| F2 EcoHull Top Coat | 1K hybrid polymer. Forms a high-gloss, ultra-smooth, water-repellent surface that makes it extremely hard for fouling to settle (fouling-release). The Top Coat is transparent - with or without sparkle effect.
Sparkle tip
Choose the Top Coat with sparkle effect. As you apply it, you immediately see where material is still missing. The gloss Top Coat (without sparkle effect) gives no film-thickness indication and is therefore harder to apply – not recommended for DIY. |
From each F2 product you generally apply only one coat, i.e. one layer each of EcoPrimer, Adhesive Coat and Top Coat. Unlike classic antifouling, you don't build up multiple layers.
Typical sequence – how many days do you need?
| Day | What happens |
|---|---|
| Day 1 | Preparation & sanding (Step 1) |
| Day 2 | Cleaning + applying primer (Steps 3–4) |
| Day 3 | Apply Adhesive Coat + Top Coat (Steps 5–6) |
| Day 4 | Waiting time – min. 36 hours before craning/trailering/re-blocking |
| Day 5 | Lift/re-block + touch up stand areas (Steps 7–8) |
| From Day 5 | Launching possible once Top Coat is touch-dry (Step 9) |
The steps don't have to happen on consecutive days – with one important exception: the F2 EcoPrimer must be over-coated with the Adhesive Coat within 24 hours, otherwise the area has to be sanded and cleaned again. The Adhesive Coat and Top Coat, by contrast, have no maximum recoat interval – here you can pause for several days, as long as the surface stays clean, dry and dust-free. More on this in → Step 1.
What you need – checklist
-
F2 EcoPrimer BASE + ACTIVATOR Scenario A only – see below
-
F2 EcoHull Adhesive Coat
-
F2 EcoHull Top Coat
-
F2 Degreasing Solution
The amount you need depends on your boat's hull area. Our surface calculator works it out in seconds – and shows you straight away which kit fits. Surface calculator →
Only open the cans when you start applying – not before. After filling the paint tray, close the can again right away. Use opened cans within 5 days. Unopened, the products keep for 12 months.
-
Random orbital sander + sandpaper P60–P80 and P180–P220
-
Mixing paddle for a cordless drill For Adhesive and Top Coat
-
Mixing cup with measurement markings For F2 EcoPrimer only
-
enough paint trays
-
high-quality foam rollers no long-pile rollers
-
Small brushes for edges and corners
-
High-quality masking tape
-
Clean sponges, cloths and/or a brush
-
Bucket For water during the cleaning step
-
Personal protective equipment
Rollers, paint trays and other accessories are available directly as the F2 Application Set →
Foam rollers, brushes and paint trays cannot be reused. Wipe other tools with a paper towel right after use – while the coating is still wet. If necessary, wipe with acetone, but take care: acetone residue can impair adhesion. Once cured, the coating can no longer be dissolved – then only scraping it off will work.
Surface preparation
Surface preparation is the most important step of the whole job. The coating is only as good as the substrate beneath it. A poor substrate leads to delamination, flaking and blistering, and unevenness can reduce performance. If you want a result that lasts 5+ years, don't cut corners here.
Old antifouling present: Scenario A. Bare or new hull: Scenario B.
Scenario A – hull has old antifouling on it
You need: F2 EcoPrimer
You are in Scenario A if your hull currently has an old antifouling coat and you are not planning a complete rebuild of your underwater hull, but want to build on the existing coat. In that case the F2 EcoPrimer is required as a conversion layer. It seals the prepared substrate and acts as a bonding primer between the old coat and the F2 EcoHull Adhesive Coat.
Old antifouling coats should be removed as completely as possible, down to the barrier coat beneath. The cleaner the base, the better and more durable the adhesion of F2 EcoHull.
Sand until the green oxidation layer is completely removed, the rest can stay. Then clean and carry on with F2 EcoPrimer.
Scenario B – hull without a base coat – new or fully sanded back
You need: several coats of barrier
You are in Scenario B if your hull is bare, i.e. new or sanded all the way back to the substrate. Here you don't need the F2 EcoPrimer, but first a separate epoxy barrier coat.
F2 EcoHull is a fouling-release system, not a barrier against osmosis or corrosion. The F2 EcoHull Adhesive Coat is applied directly onto a fresh, suitable epoxy barrier coat; the F2 EcoPrimer is not used.
The F2 EcoHull Adhesive Coat covers well, but not completely over high-contrast substrates. So match the colour of the final primer coat to your F2 colour:
| Black Gloss / Sparkle Graphite | → | dark grey to black primer | |
| Royal Blue / Blue Sparkle | → | blue or dark grey primer | |
| White Gloss / White Sparkle | → | white or very light primer |
| Solvent-free | Solvent-based | |
|---|---|---|
| How to identify | No VOC note on the data sheet | VOC figure on the data sheet |
| Waiting time | Until the last primer coat is touch-dry, then continue within 24 hours straight on with the Adhesive Coat | At least 7 days of off-gassing at 20 °C so all solvents can escape |
| Sanding? | Not necessary, as long as you continue straight on with the Adhesive Coat within 24 hours | Always necessary: after 7 days, rinse the surface with water, then sand well |
| Window missed? | If more than 24 hours have passed, the surface has cured too far and must be sanded | – |
| Examples | Hempel High Protect II International Gelshield Plus |
International Interprotect International Gelshield 200 International VC Tar2 |
Check the conditions
| Condition | Requirement |
|---|---|
| Air temperature | 10 °C to 35 °C – during application and throughout the drying time. |
| Surface | At least 3 °C above the dew point
Watch out for condensation
A common issue, especially in spring: a cool surface + damp morning air = the hull „sweats". You can barely see it – but the coating will not bond to a condensation-covered surface. Test: run the back of your hand over the hull. Cool and damp? Wait – usually until midday. |
| Humidity | Max. 90% – no rain on fresh primer (otherwise sanding is required). On the Adhesive Coat and Top Coat, rain after about 4 hours is no problem. The surface must be dry before you continue painting! |
| Work area | Do not sand, polish or saw nearby – dust and particles can impair adhesion.
Underwater hull first, then polishing
Deal with the underwater hull before polishing. Invisible polish particles spread across the whole hull and can impair adhesion. If polishing was done first – clean extra thoroughly! |
The substrate must be sound, smooth, clean and dry. Moisture trapped under the coating will lead to adhesion problems. If in doubt, check with a moisture meter.
Cleaning with F2 Degreasing Solution
Grease, dirt and residue on the substrate are the most common cause of adhesion problems. The F2 Degreasing Solution is a solvent-free cleaner that prepares the substrate optimally before painting. This step matters more than it looks.

Never use conventional solvents for cleaning. They leave invisible residues that permanently interfere with adhesion.
Apply F2 EcoPrimer Scenario A only
You need the F2 EcoPrimer whenever you have sanded down or off your old antifouling but have not applied a new epoxy primer. If a fresh epoxy primer has been applied, you can skip this step. In that case, see the notes under Step 1 – Scenario B.
The F2 EcoPrimer consists of two components: BASE and ACTIVATOR. Once BASE and ACTIVATOR are mixed, the clock is running: the working time is a maximum of 30 minutes at 20 °C. The warmer it is, the shorter it gets. Keep cans in the shade, and in very warm conditions stand them briefly in a cool water bath first.
Recommendation: mix max. 250 ml per person at a time!

4A – Mixing
Mixed 2K systems generate their own heat as they cure. Larger leftover quantities of F2 EcoPrimer can develop extreme heat. Never leave a cup of leftover material unattended on a flammable surface.
4B – Application

The primer does not cover 100% – that is normal. Its job is adhesion, not colour. Full coverage comes with the Adhesive Coat.
| Waiting time | |
|---|---|
| Minimum before Adhesive Coat | 4–6 hours (touch-dry) |
| Maximum | 24 hours |
| Waited longer than 24 hours? | Wash the surface, then sand thoroughly with P180–220. Then clean once more with F2 Degreasing Solution (Step 3) – only then apply the Adhesive Coat (Step 5). |
Apply the Adhesive Coat
The Adhesive Coat is the colour-giving coat. The entire colour of your underwater hull comes from the Adhesive Coat. The Top Coat that follows is transparent and does not change the colour. That is why the Adhesive Coat needs an even, covering coat. As a one-component hybrid polymer it bonds the substrate to the Top Coat and forms the robust foundation for the fouling-release effect.
The Adhesive Coat is very viscous – noticeably thicker than ordinary paint. That is normal and intended. Allow more time than for a conventional antifouling coat, because the polymer has to be rolled out carefully and with light pressure evenly across the surface. That takes a bit of patience!

| Waiting time | |
|---|---|
| Minimum before Top Coat | 4 hours (touch-dry) |
| Maximum | No maximum – as long as it stays clean, dry and dust-free |
Rain after at least 4 hours is usually no problem. If dirt marks remain: clean with fresh water and let dry before applying the Top Coat.
Apply the Top Coat
The Top Coat is the final coat and gives the system its function. As a one-component hybrid polymer it forms the high-gloss, ultra-smooth, water-repellent surface that fouling can barely settle on, the fouling-release effect. It is transparent, with or without sparkle effect. The colour comes from the Adhesive Coat.

| Waiting time | |
|---|---|
| Minimum before craning | 36 hours |
| Maximum | No maximum
No time pressure – tackiness is normal
The boat can stay ashore indefinitely after the Top Coat – there is no maximum standing time. The Top Coat does stay tacky: that is by design, not a fault. Full curing only happens in the water. Once touch-dry (~4–6 hours), the surface can be lightly dampened with fresh water – this speeds up curing. |
The areas under the boat stands cannot simply be touched up while hanging in the lift. The coating build-up and drying times normally require re-blocking.
Re-blocking / Craning / Trailering
In this step the boat is re-blocked or set up anew, so that the areas under the boat stands become free and can be coated in Step 8. These spots usually can't be touched up while hanging in the lift; coating build-up and drying times normally require re-blocking. Because the finished surface is extremely smooth, a few precautions are needed when craning.
Because the surface is extremely smooth, there is a risk that the lifting slings slide on the hull or slip apart. Simple precautions prevent this. You'll find guidance in our article on lifting →
The notes about the smooth surface apply just the same when trailering: keep supports and straps clean, protect the fresh coating with soft padding, and make sure everything sits securely without slipping.
-
After applying the Top Coat, wait at least 36 hours before the boat is loaded, whether crane or trailer. The coating must be pressure-resistant enough to carry the boat's weight.
-
Tell the lift operator about the extremely smooth surface.
-
Ask the lift operator to tie the slings together under the hull with a line (secure them) to stop them sliding apart.
-
Make sure the lifting slings are clean.
-
If needed, use soft padding (e.g. painter's fleece) between sling and hull to protect the fresh surface. Especially important on chines.

Touch up the stand areas
Once the boat has been re-blocked and the stand contact areas are exposed, you touch up these spots. Essentially you repeat the full build-up as on the rest of the hull, just on a small area and according to your scenario from Step 1.
Scenario B (new barrier primer): re-do the barrier coat on the exposed area. Overlap onto the 5 cm edges left free in Step 5. Substrate preparation, number of coats and waiting times per data sheet, just like in Step 1. EcoPrimer is not used here.
Launching & Curing
Launching is possible as soon as the Top Coat of the stand touch-up is touch-dry (around 4–6 hours). The rest of the hull is long past the 36 hours from Step 7 by then. For the small touched-up areas there is no separate 36-hour wait, as long as no sling pressure acts on them.
The surface is still extremely smooth. The same precautions as in Step 7 apply to all crane movements: secure the slings, keep them clean and protect fresh spots with soft padding.
The boat can stay ashore indefinitely before launching. It does not have to go in the water within any set time. The coating stays slightly tacky, because full curing only begins in the water.
| Phase | |
|---|---|
| Ashore after application | Touch-dry, but still slightly tacky |
| First 8–12 weeks in the water | Continuous chemical curing. During this phase the coating does not yet deliver 100% fouling-release performance |
| After 8–12 weeks | Fully cured – full fouling-release performance |
Care & Cleaning
After the first 8–12 weeks in the water, a gentle clean with a soft sponge or soft brush is recommended (Early Clean). This removes the initial biofilm and lets the fouling-release system reach its full performance.
Never use hard brushes, scouring pads (Scotch-Brite) or aggressive chemicals for cleaning. The surface is designed to be self-cleaning – gently wiping with a soft brush or sponge is usually enough to remove fouling.
Possible – but only after the first 8–12 weeks in the water, once the coating is fully cured. In the first weeks, clean only with a soft sponge or brush. After that: keep enough distance, use only as much pressure as necessary.
Our care guide shows in detail how to keep F2 EcoHull clean and performing all season. Care & cleaning guide →
F2 EcoHull can be repaired – even mid-season. Small scratches that don't go through the Adhesive Coat can often just be over-coated. For a step-by-step repair guide: Repair guide →
Want to remove the coating completely – for example when switching systems? That is easily done with the F2 Coating Remover →